Setting Your Expanding Pilot

Blog

Introduction

Welcome to Rusty's Upholstery, your go-to source for all your home and garden furniture upholstery needs. In this guide, we will walk you through the process of setting up and using an expanding pilot. Whether you are a beginner or seasoned DIY enthusiast, our comprehensive instructions and tips will help you achieve professional-grade results.

What is an Expanding Pilot?

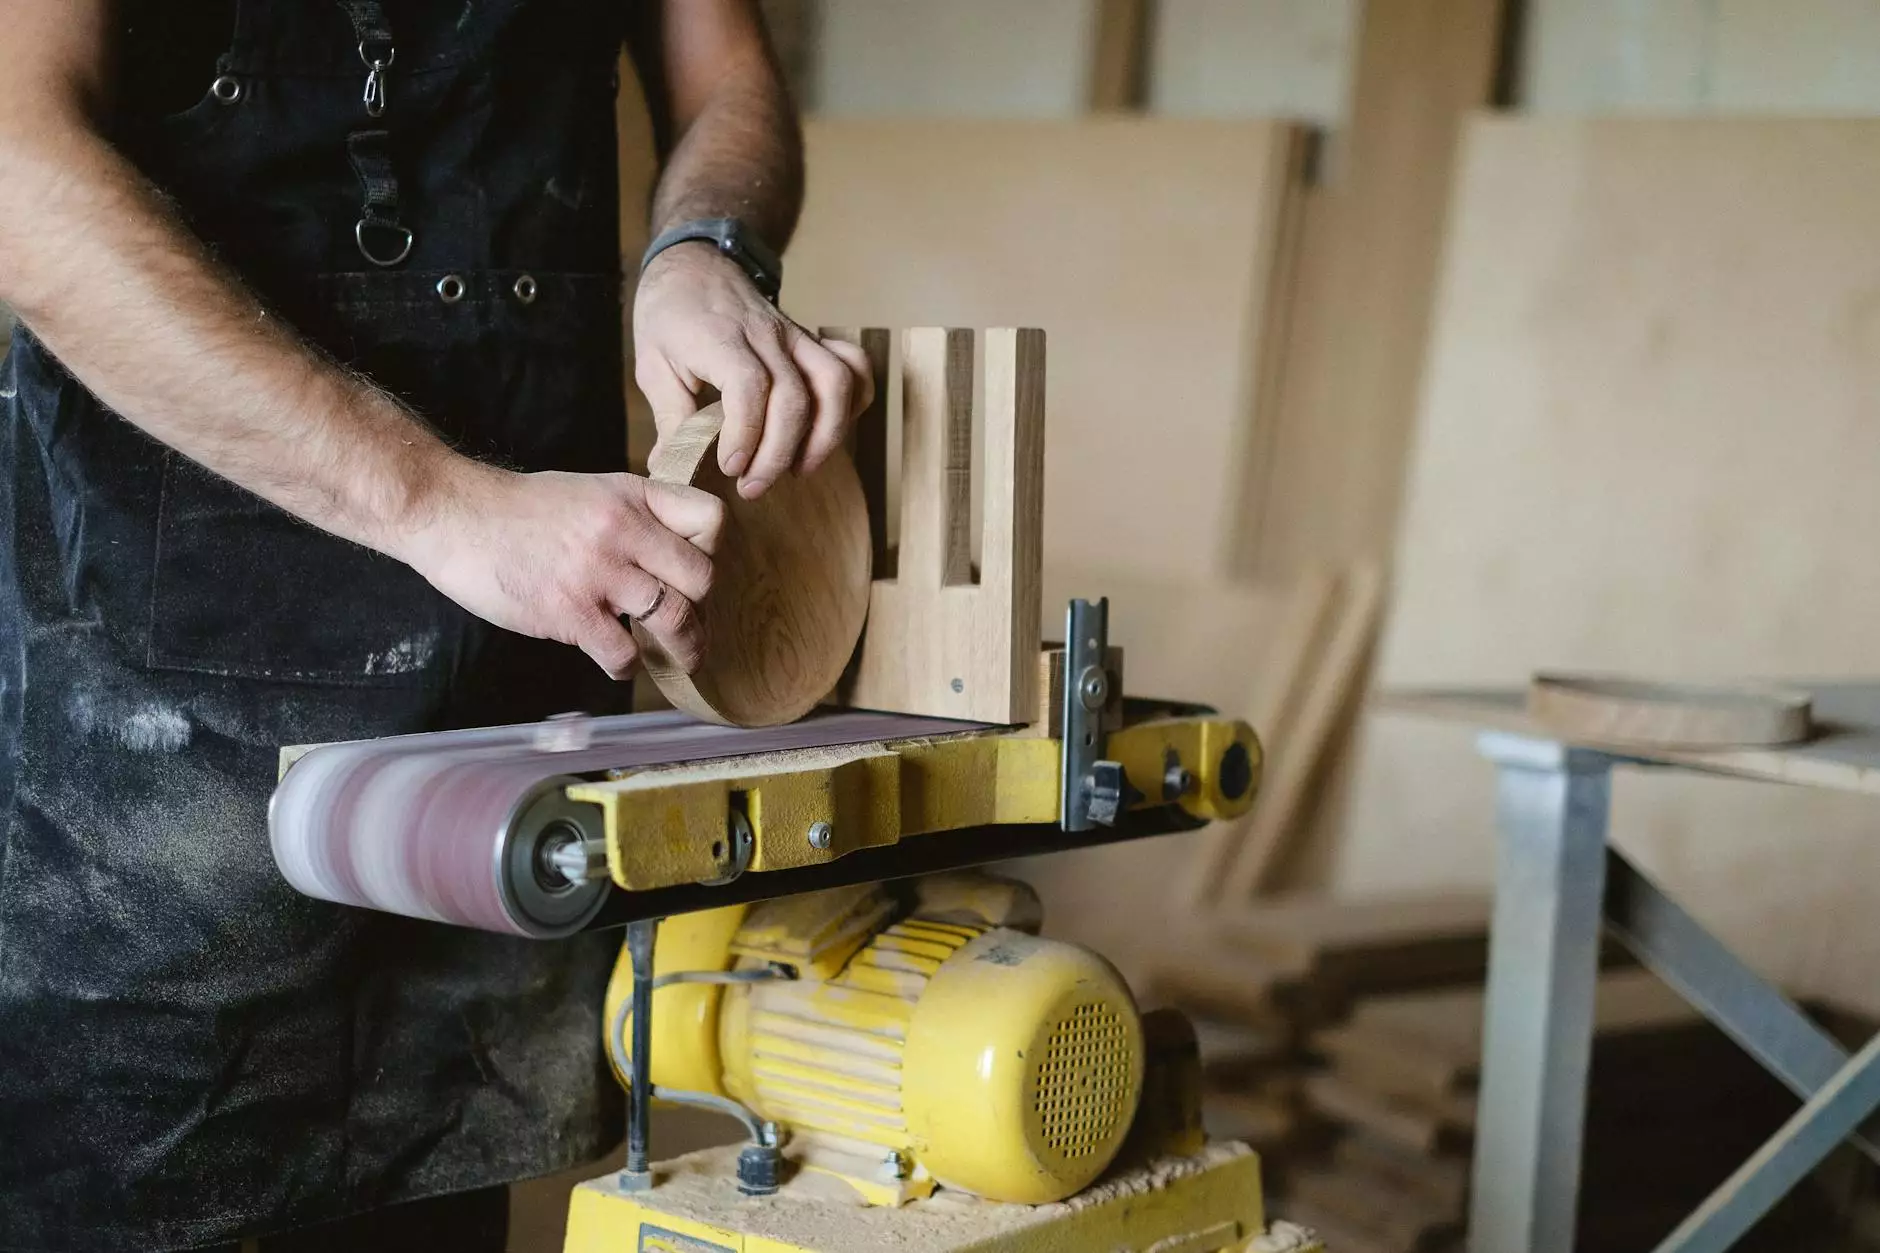
An expanding pilot is a crucial tool in furniture upholstery that helps to secure fabric tightly and evenly across a piece of furniture. It consists of a set of adjustable clamps that hold the fabric in place while you stretch and staple it onto the furniture frame.

Choosing the Right Expanding Pilot

When selecting an expanding pilot, it's important to consider the size and weight capacity of the pilot, as well as its durability. The right pilot should be able to accommodate the dimensions of your furniture and provide a sturdy grip on the fabric.

Setting Up Your Expanding Pilot

Before you begin, make sure your work area is clean and well-lit. Follow these steps to set up your expanding pilot:

  1. Place the pilot on a stable surface, such as a workbench or table.
  2. Adjust the clamps to the desired width and height to fit your furniture.
  3. Secure the pilot in place using the locking mechanisms.
  4. Ensure that the clamps are evenly spaced and parallel to each other.

Preparing Your Furniture

Before you start upholstering, it's essential to prepare your furniture properly. Here are some important steps to follow:

  1. Remove any existing upholstery from the furniture.
  2. Inspect the frame for any damages or loose parts. Make any necessary repairs.
  3. Clean the frame thoroughly and remove any dust or debris.
  4. Measure and cut the fabric to the appropriate size, leaving some extra allowance for stretching.

Stretching and Stapling the Fabric

Now that your expanding pilot is set up and your furniture is prepared, it's time to stretch and staple the fabric onto the frame. Take the following steps:

  1. Position the fabric over the furniture and align it properly.
  2. Starting from one end, pull the fabric tightly and secure it using staples. Work your way around the furniture, making sure the fabric is smooth and wrinkle-free.
  3. Use a staple gun to attach the fabric to the frame securely.
  4. Trim any excess fabric if needed.

Finishing Touches

After stapling the fabric, it's time to add the finishing touches to your upholstery project:

  1. Inspect the fabric for any lumps or uneven spots. Smooth them out if necessary.
  2. Install any additional decorative elements, such as buttons or trim, according to your design preferences.
  3. Clean the furniture thoroughly to remove any lingering dust or debris.
  4. Step back and admire your newly upholstered piece of furniture!

Conclusion

Congratulations on successfully setting up and using your expanding pilot for your furniture upholstery project! By following the steps outlined in this guide, you are well on your way to achieving professional-grade results. Remember, practice makes perfect, so don't be discouraged if your first attempt isn't flawless. With time and experience, you'll master the art of furniture upholstery. At Rusty's Upholstery, we're here to support you every step of the way. Happy upholstering!

Comments

Stacey Moore

I've bookmarked this guide for future reference. It's a valuable resource for anyone interested in using an expanding pilot.

Add Email

This guide has demystified the process of setting up an expanding pilot. I feel more prepared to take on my DIY projects.

Wayne Fullam

The article's blend of theory and hands-on guidance makes it an invaluable resource for those interested in expanding pilots.

Scott Cilento

I love how this guide encourages hands-on learning. It's an empowering resource for DIY enthusiasts.

Gerald Therrien

Thank you for providing such a detailed guide on setting up an expanding pilot. It's a fantastic primer for DIY enthusiasts!

Jean Keller

As someone new to DIY projects, I appreciate the detailed instructions provided in this article.

Michael Lowey

The visuals and detailed descriptions in this guide make it accessible to DIY enthusiasts of all levels.

Amanda Baydar

The article's step-by-step breakdown of the expanding pilot setup ensures that readers grasp each concept thoroughly.

Ita Rajasa

The expanding pilot setup process seems straightforward, thanks to the detailed explanations provided in this article.

Richard Baron

The article's conversational tone makes the instructions for the expanding pilot setup feel approachable and practical.

Joe Mathews

This article has illuminated the process of setting up an expanding pilot. It's a great starting point for beginners.

Elizabeth Buncher

Thanks for breaking down the steps for setting up an expanding pilot. It's a valuable resource for DIYers like me.

Lance Spencer

The expanding pilot setup process can be daunting, but the article's approach makes it seem feasible for beginners.

Allison Angell-Oliver

I'm grateful for the valuable insights shared in this article. The expanding pilot setup guide is a game-changer for me!

Venkata Yasam

I'm glad I stumbled upon this article. It's a great introduction to the world of expanding pilots and DIY upholstery.

Brian Uijterwaal

Looking forward to applying the knowledge gained from this article. The expanding pilot setup process seems less daunting now!

Mark Turner

The article's thoroughness in explaining the expanding pilot setup process is commendable. I feel prepared to take on this task.

Nlwc

I find the article's explanations to be both enlightening and practical. It's a great guide for DIY enthusiasts!

Kim Isles

I appreciate the emphasis on thorough instructions in this article. It's important for beginners to have clear guidance.

Elaine Conner

I never knew setting up an expanding pilot could be this straightforward. The article has opened my eyes to a new DIY tool.

Rohit Khamkar

The guide's user-friendly language makes it accessible to DIY enthusiasts from all walks of life. Well done!

Kevin Costley

I've been considering purchasing an expanding pilot, and this article has given me the confidence to do so. Thank you for the guidance!

Marianne Caliguia

I've been searching for a comprehensive resource on expanding pilots, and this article delivers exactly that. Thank you!

Fengfeng Zhuang

I've heard about expanding pilots but never knew how to set one up. This guide is just what I needed!

Becky Kay

The expanding pilot seems like a versatile tool. I can't wait to see how it enhances my upholstery work!

Richard Catrone

This guide is a must-read for anyone curious about the intricacies of expanding pilots. I appreciate the insights shared here.

Pam Kederis

Great article! The expanding pilot setup instructions are clear and concise.

Eric Doyle

The expanding pilot setup process is no longer a mystery to me, all thanks to this well-crafted guide.

Karine Hollander

I appreciate the attention to detail in this article. It gives me confidence to tackle the expanding pilot setup process.

Telelanga User4

The expanding pilot setup process has always seemed complex to me, but this guide breaks it down into manageable steps.

Tim Dotson

I've always been intimidated by expanding pilots, but this guide has made me feel more confident about using one.

Laura Sim-Selley

The instructions in this article are easy to follow. I feel empowered to tackle new projects with an expanding pilot.

Rodny Mitsuuchi

The article's practical approach to setting up an expanding pilot sets it apart as a valuable resource for DIYers.

Joseph Smithmyer

I'm impressed by the thoroughness of the article's explanations. It's clear that the writer knows their stuff!

Bethany Pimentel

The clarity of the instructions in this article sets it apart from other DIY guides I've come across. Well done!

Guillermo Serna

The article's logical progression from setup to usage ensures that readers grasp the concept of expanding pilots.

Sean Huff

The author's expertise shines through in the detailed explanations of setting up an expanding pilot.

Jonathan Kauffmann

Thanks for sharing this helpful guide! I've been looking for instructions on setting up an expanding pilot.

Gail Lindley

The expanding pilot setup guide is comprehensive and user-friendly. I'm looking forward to applying these instructions!

John Morrow

The expanding pilot setup instructions are easy to grasp, even for those new to upholstery projects.

Huo Er

I've always been curious about expanding pilots, and this article has satisfied my curiosity with its clear explanations.

Robin Smith

I'm excited to add an expanding pilot to my toolkit. This article has given me the confidence to do so.

Martyn Flintoft

Looking forward to trying out the expanding pilot for my upholstery projects. Thanks for the clear explanations!

Pearl Rollins

I appreciate how the guide emphasizes the importance of a well-set expanding pilot. It's a critical aspect of DIY upholstery.

Jonathan Tabak

The step-by-step approach in this article makes it easy to understand the process of using an expanding pilot.

Joe Jackson

I appreciate the thoroughness of this guide. It's evident that the author is knowledgeable about expanding pilots.

Andrew Ransom

Kudos to the writer for simplifying the process of setting up an expanding pilot. I feel ready to give it a try!

Ken Devries

The expanding pilot is a game-changer for DIY upholstery. This article has made me eager to get started!

Allan Philp

This article has given me a newfound interest in DIY upholstery projects. The expanding pilot setup process seems manageable.